Greetings!
So I have some updates on this topic, having just tried it again. See my previous post on how I tried to make my own Annie Sloan chalk paint :) This time I tried it on a 1920's french cabriole style vanity that I picked up a lonnnnggg time ago. It had been sitting in my garage waiting for my attention for probably 6 months...I'd look at it with it's heavily chipped veneer and water stains and think "ugh, I don't have time for that one, what was I thinking?"
First there was the veneer issue, and that is a whole other topic...but in short, if you have a clothes iron you are willing to sacrifice, and putty knife it can be done.
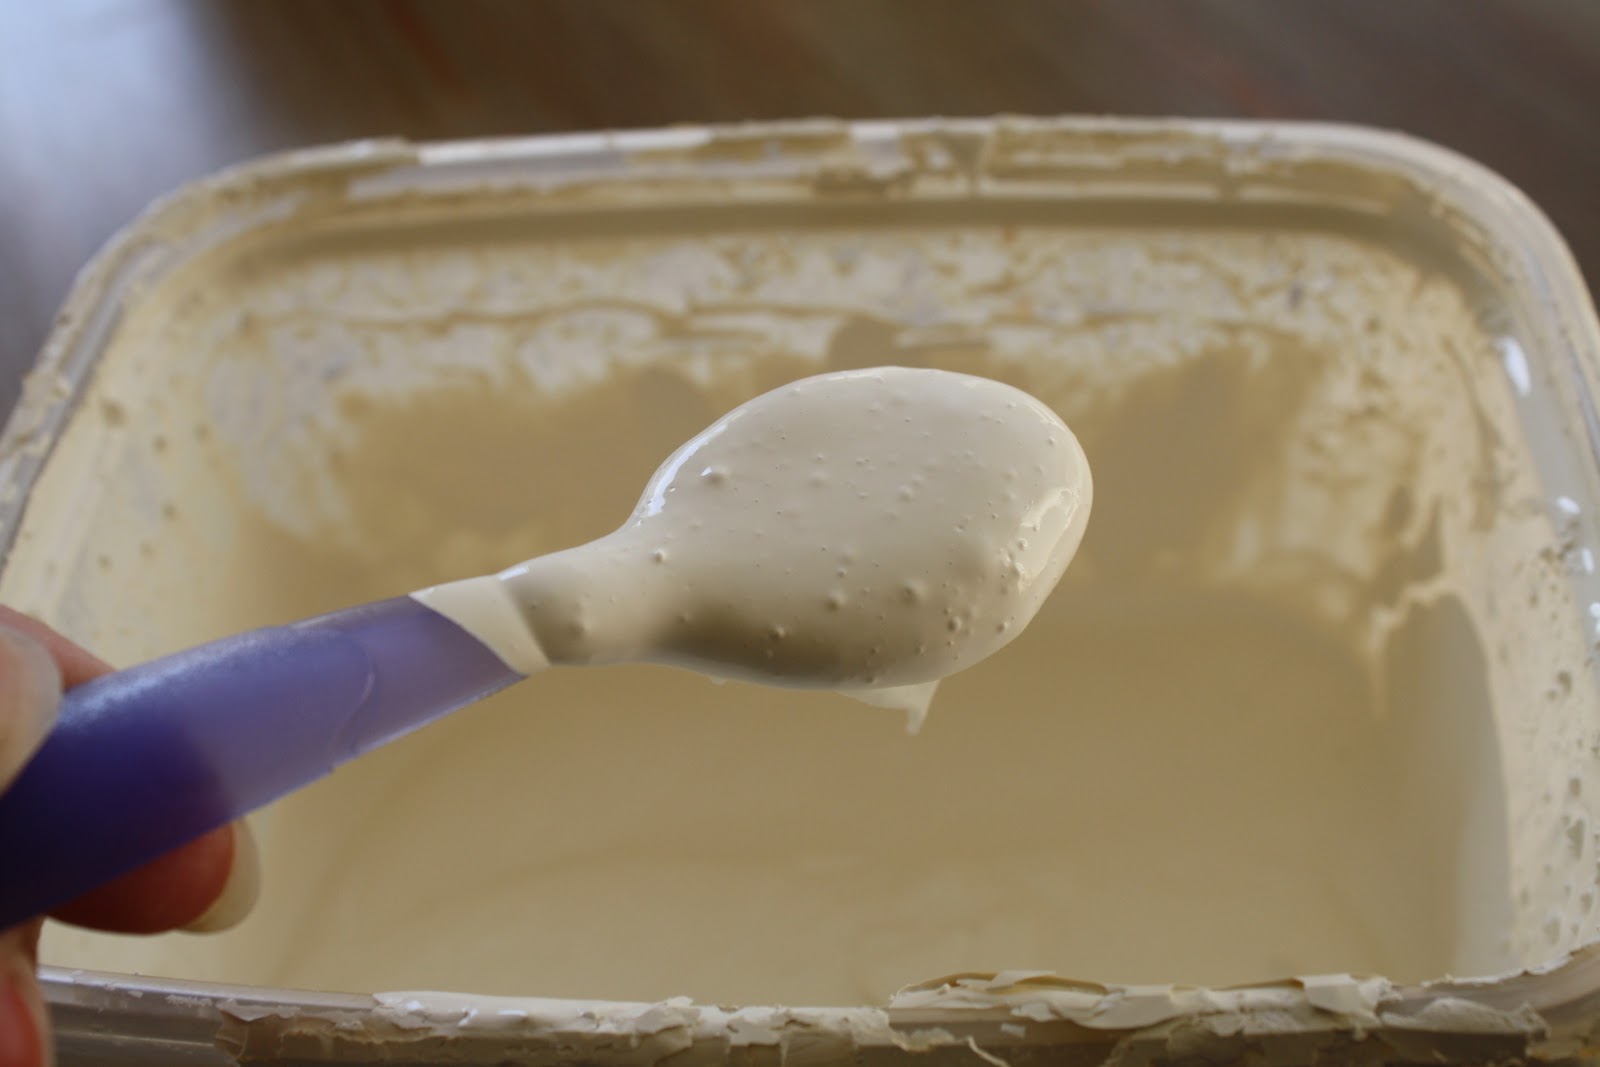
On to the chalk paint. So my recipe was the same, I used 2 ounces of Calcium Carbonate to one sample size paint jar, which is 8 ounces. Only THIS time, at the suggestion of Lauren at west furniture revival , I mixed 1/2 ounce of hot water in with the Calcium Carbonate first and stirred until it was completely dissolved and paste like (about 1 minute). Then I added my sample size paint and blended by hand for a few minutes..super easy. And here is what it looked like after my first coat:

You can see the bleed through of the water stains, something Annie Sloan's claims won't happen as you don't need a primer or prepping first. However, this piece was SOOO rough on top that I'm not sure Annie's would have done the trick either...but my version DID do an awesome first coat everywhere else. It was enough to give it that time-worn, heavily distressed look. There were some little brush strokes here and there but it actually added to it's appeal. It glided on so much better than latex too, less paint needed and much better coverage with the Calcium Carbonate-I thought. I decided to give it a coat of primer JUST ON THE TOP to ensure those stains didn't' come through. Then I put on a second coat of my faux chalk paint. Here is what that looked like;
I used a clear wax, then followed up with a dark wax around the edges and corners to 'dull' the brightness of the turquoise more. And here is the finished product:
 So having never swallowed the expense of using the real thing, Annie Sloan that is, here is what my recipe definitely accomplished:
*Much better coverage! I used one jar of sample paint for this with the addition of the calcium carbonate and it was enough to completely cover twice.
*Improved Texture! The paint glided on, didn't dry as quickly and left less brush strokes then regular latex. That alone was worth it for me. I could have stopped at one coat if I wanted to let more wood show through (other than the need for primer on the top!)
*Better adherence. It removes some of that 'rubbery' feel of latex and therefore seems to cling to the wood differently, better.
So with the exception of Annie's claim to not need primer, this was by far an improvement over regular latex, for me. I'll be using the calcium carbonate in my paint from now on, and maybe trying some of the other ingredients people have suggested (ie; unsanded grout, whiting powder, plaster of paris, etc.) I'd love to hear other people's experiences or suggestions as well.
Till next time! XO
So I have some updates on this topic, having just tried it again. See my previous post on how I tried to make my own Annie Sloan chalk paint :) This time I tried it on a 1920's french cabriole style vanity that I picked up a lonnnnggg time ago. It had been sitting in my garage waiting for my attention for probably 6 months...I'd look at it with it's heavily chipped veneer and water stains and think "ugh, I don't have time for that one, what was I thinking?"
 |
| It had become a 'counter' in the garage for my stuff. |
On to the chalk paint. So my recipe was the same, I used 2 ounces of Calcium Carbonate to one sample size paint jar, which is 8 ounces. Only THIS time, at the suggestion of Lauren at west furniture revival , I mixed 1/2 ounce of hot water in with the Calcium Carbonate first and stirred until it was completely dissolved and paste like (about 1 minute). Then I added my sample size paint and blended by hand for a few minutes..super easy. And here is what it looked like after my first coat:

You can see the bleed through of the water stains, something Annie Sloan's claims won't happen as you don't need a primer or prepping first. However, this piece was SOOO rough on top that I'm not sure Annie's would have done the trick either...but my version DID do an awesome first coat everywhere else. It was enough to give it that time-worn, heavily distressed look. There were some little brush strokes here and there but it actually added to it's appeal. It glided on so much better than latex too, less paint needed and much better coverage with the Calcium Carbonate-I thought. I decided to give it a coat of primer JUST ON THE TOP to ensure those stains didn't' come through. Then I put on a second coat of my faux chalk paint. Here is what that looked like;
 |
| I had already applied a glaze here, but you can see the result of two paint coats was more than enough! |

*Much better coverage! I used one jar of sample paint for this with the addition of the calcium carbonate and it was enough to completely cover twice.
*Improved Texture! The paint glided on, didn't dry as quickly and left less brush strokes then regular latex. That alone was worth it for me. I could have stopped at one coat if I wanted to let more wood show through (other than the need for primer on the top!)
*Better adherence. It removes some of that 'rubbery' feel of latex and therefore seems to cling to the wood differently, better.
So with the exception of Annie's claim to not need primer, this was by far an improvement over regular latex, for me. I'll be using the calcium carbonate in my paint from now on, and maybe trying some of the other ingredients people have suggested (ie; unsanded grout, whiting powder, plaster of paris, etc.) I'd love to hear other people's experiences or suggestions as well.
Till next time! XO